Startup validation - sell products & take payments using Trolley in 10 minutes
You've read the lean startup books, you've listened to the podcasts, and you want to validate your startup idea with real customers as fast as possible.
One classic technique is to put up a landing page with a payment button on it, and prove whether you can convince real customers to pay you money before you have a full product.
The only problem is, you don't want to spend the time and effort - or hire a developer - to build a secure back end server application to help you take payments (which is what you have to do to use something like Stripe to process credit cards)
Until very recently this has been a lot harder than you'd expect but now, with the appearance of a few new tools, you can genuinely do it all in minutes.
Here's how.
The Plan
We're going to build a whole website using a free HTML-only template.
We're going to take product orders and actual money, using Trolley, a super-simple payments system for startups, bootstrappers and small businesses.
Then we're going to deploy it using Netlify (a really cool hosting setup.)
We're going to do this in under 10 minutes.
Assumptions
- You're familiar with basic HTML and CSS
- You have a text editor and know how to open the Terminal.
- You either have, or are happy to create, accounts with Trolley and Stripe
1. Get a website template
There are loads of free template sites out there now (though look out for ones that claim to be free, but whose small print says "unless you're commercial, then it's $500") I like Templated - they have a strong selection of modern looking templates.
Let's grab one as an example: https://templated.co/projection Once you've downloaded that, unzip it to a directory of your choice.
2. Do some basic content edits
In your new director, open index.html in a text editor.
Change the <title>, the <h1>, the <header> element and the contents of the various content blocks.
Scroll down to the <footer> element and delete it - we don't need a contact form for this example (though once you're up and running on Netlify you can use theirs)
3. Set up your shopping cart
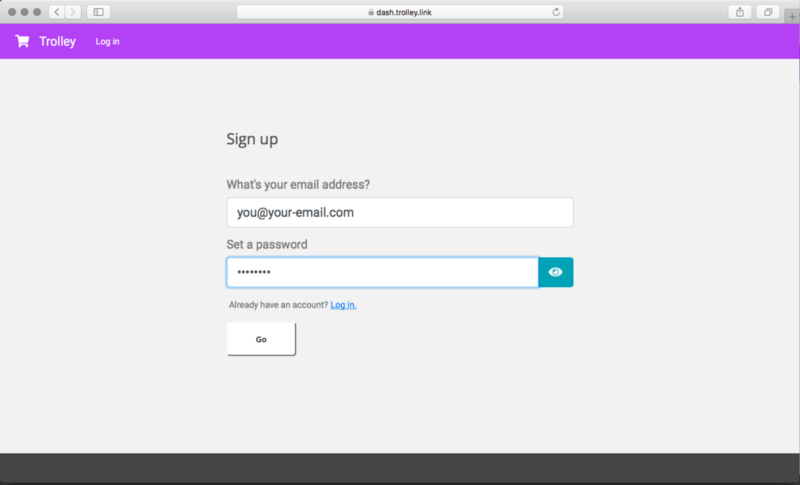
Trolley is a simple e-commerce system that's perfect for sites like this one. You can create products or take donations; you just copy-paste simple button tags into your website that trigger the payment process.
Go to https://trolley.link and sign up for an account: it's free.
Follow the prompts to link it to a new or existing Stripe account for processing actual credit card payments into your bank account (the form takes about 2 minutes to fill in if you have your details handy)
Create a product
Once you've created your Trolley account, you can create your first product. Click on Products, then New Product.
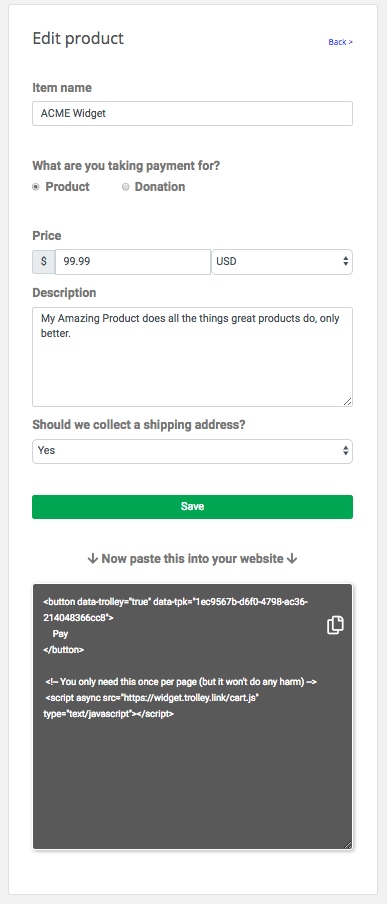
4. Put the product on your website
Once you've saved your product you'll see that Trolley asks you to grab a chunk of HTML and paste it into your website.
Select the code (the words in the dark greybox, above…) and copy it - either using your keyboard, or by clicking the little Copy icon.
Now flip over to your text editor and find this, around line 59 or so:
<a href="#" class="button">Get Started</a>
Replace that line with the copy-paste from Trolley, like so:
<button data-trolley="true" data-tpk="UNIQUE_RANDOM_STRING">
    Pay
</button>

<!-- You only need this once per page (but it won't do any harm) -->
 <script async src="https://widget.trolley.link/cart.js"
   type="text/javascript"></script>
(Use the text from Trolley, containing your unique ID, don't copy-paste the one from this blog post!)
Save the file and refresh your browser tab.
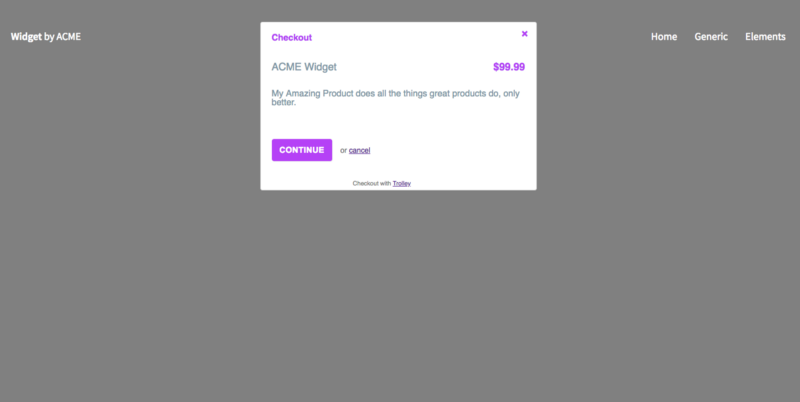
My version of the page looks like this now:
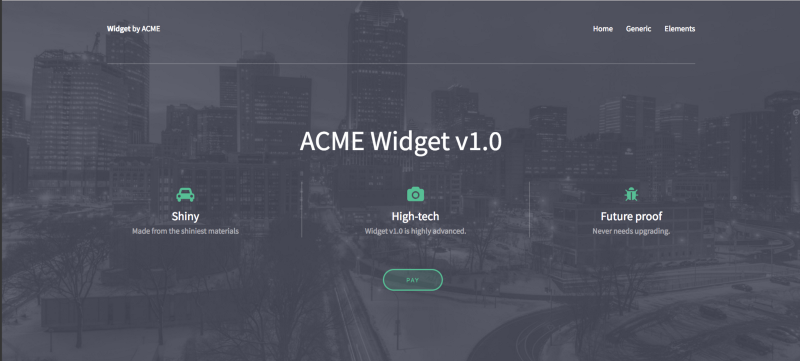
And, if you click on the Pay button, then you should see the cart pop up.
5. Put it on the web
First make sure you've got a (free) Netlify hosting account - you can get one here if you haven't already.
Follow the instrucitons here: https://www.netlify.com/docs/manual-deploys/
Once you're logged in, you can make it live using drag-and-drop; simply drag the whole directory you unzipped into the Netlify "Deploy" box in your browser. Watch the video if you get stuck!
Once that's done, open the auto-generated URL they give you, to see your site live on the internet!
Now all you have to do is market it, validate it and turn it into a real business… :o)