Using the popup payment widget
Learn how to install the popup payment widget simply by copy-pasting some JavaScript
Create a product
 Once you've created your Trolley account, you can create your first product. Click on Products, then New Product.
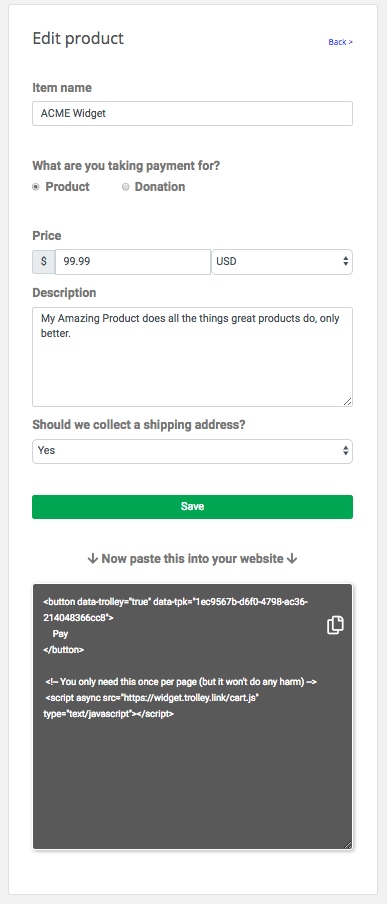
Fill in the basic product details - price, currency, description and so on. Scroll own a bit and click Save.
Put the product on your website
Once you've saved your product you'll see that Trolley asks you to grab a chunk of HTML and paste it into your website.
Select the code (the words in the dark greybox, above…) and copy it - either using your keyboard, or by clicking the little Copy icon.
Now flip over to your text editor, open up the source, and paste the code from Trolley somewhere into your design, like so:
<button data-trolley="true" data-tpk="UNIQUE_RANDOM_STRING">
    Pay
</button>

<!-- You only need this once per page (but it won't do any harm) -->
 <script async src="https://widget.trolley.link/cart.js"
   type="text/javascript"></script>
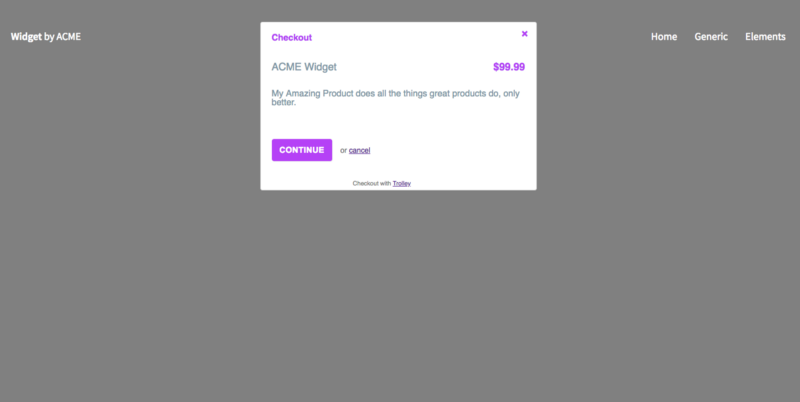
Refresh your website in the browser and you should see a Pay button.
Click it, and a Trolley pop-up widget should appear, just like this:
Deploy your edited website and that's it - you're live!