Start using Payment Links
Learn how to get set up with Trolley in less than 5 minutes and take your first payment with a Payment Link.
Once you're comfortable with Payment Links, to learn how to use Payment Buttons on your website, see our Getting Started with Payment Buttons tutorial
Sign up
If you don't already have a Trolley account, sign up for an account: it's free.
Follow the prompts to link it to a new or existing Stripe account for processing credit card payments, or apply for bank-to-Bank payment processing.
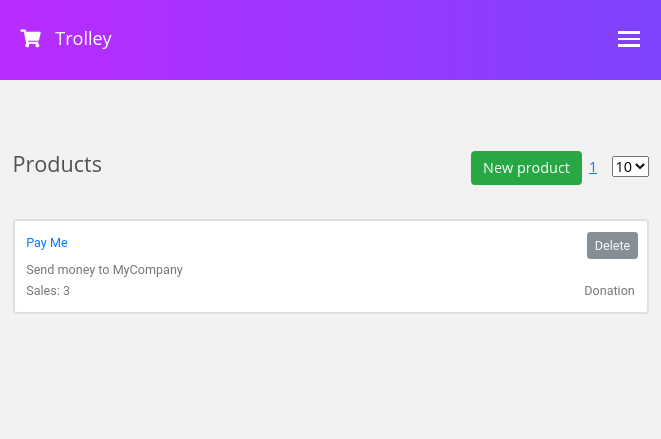
Trolley also auto creates your first Product - a simple "Pay Me" product that allows anyone who visits it to send you a variable amount of money. Perfect for donations, person-to-person transfers or partial payments.
You can see this in the Products screen
Get a Payment Link
Now follow the link at the top of the page to Payment Links to go to the Payment Link Generator.
This opens in the dashboard (although you can also click the "Open Standalone" button to get a version you can give to, for example, call centre staff, that doesn't show the rest of the admin dashboard details)
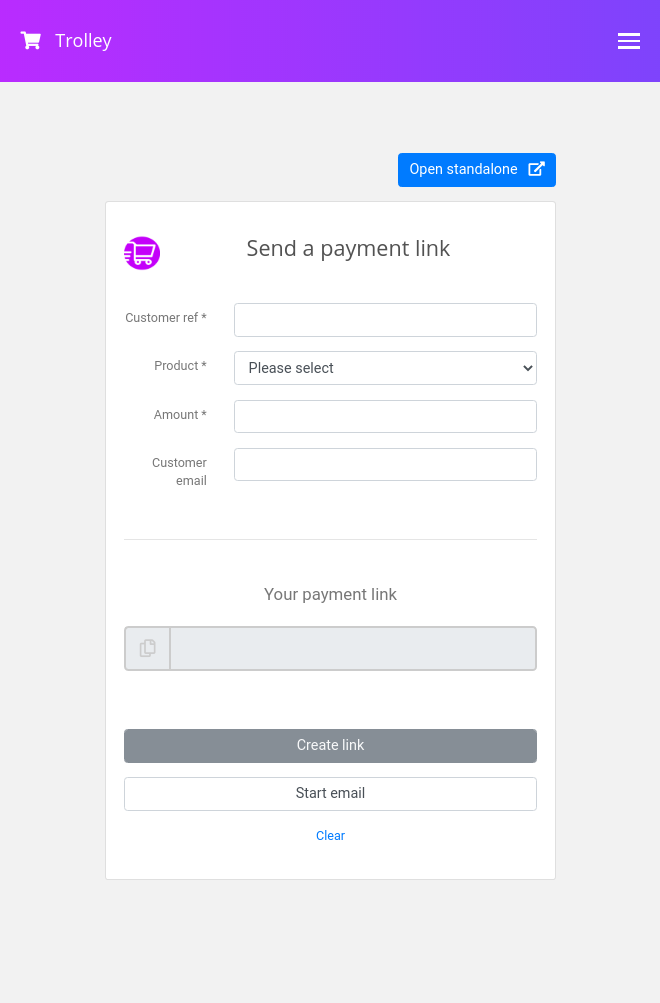
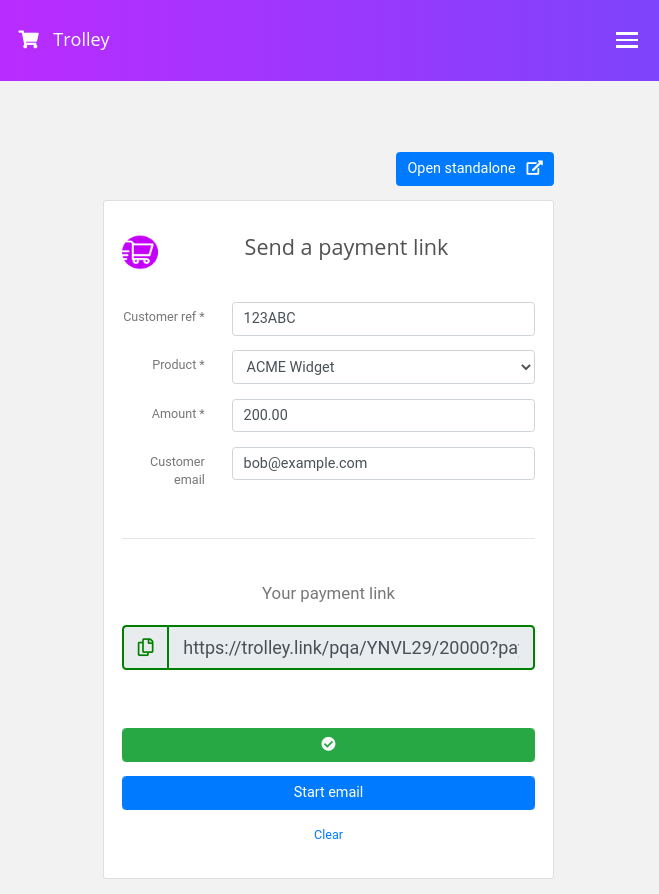
Here we can select a product - let's use the Pay Me product Trolley create for you.
If you have an existing customer reference, enter it (if you don't, Trolley will create one for you)
Optionally, set the customer's email address if you know it - this will also pre-populate it for the customer when they go to pay.
And finally, you can optionally set the amount: if you don't set this, it'll default to what's set on the underlying Product, but you can override it here (great if you're sending out links for balance payments, for example)
Press the Create button, and Trolley creates a link that you can send to your customers. There's a handy Start email button that will open your email client (if you've provided a customer email address) or you can copy the link and use it however you want - WhatsApp, SMS and email are all opoular options.
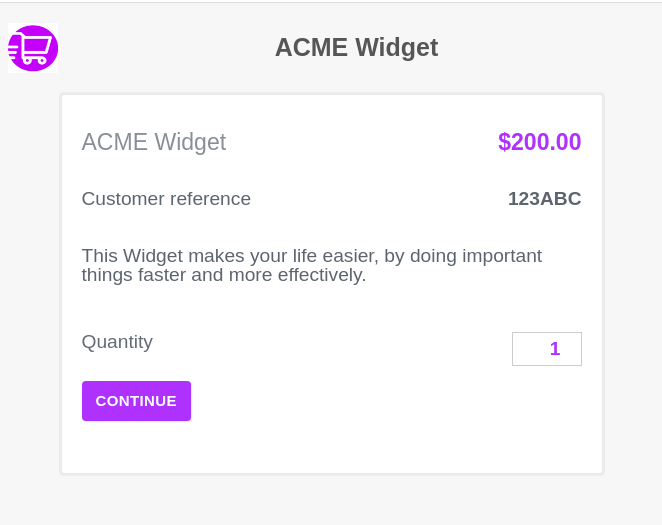
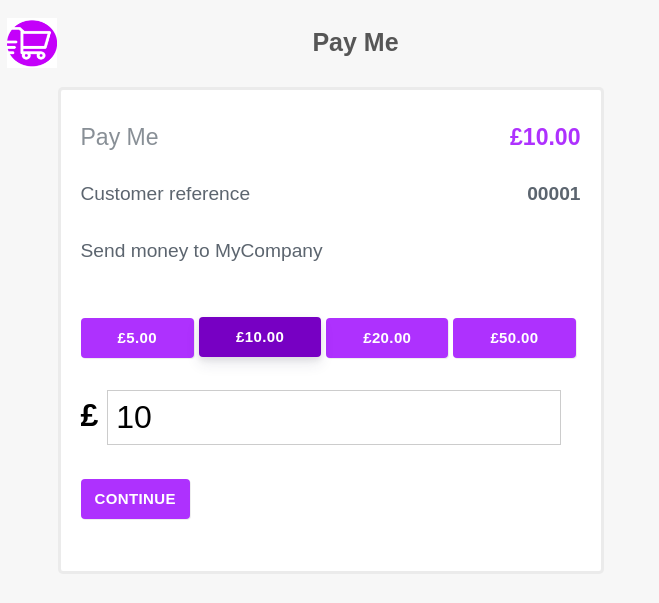
When your customer clicks the link, they're taken to a Hosted Payment Page like this, where they can complete the transaction.
Create another product
 Now that you're familiar with the Trolley dashboard, you can create your first product. Click on Products, then New Product.
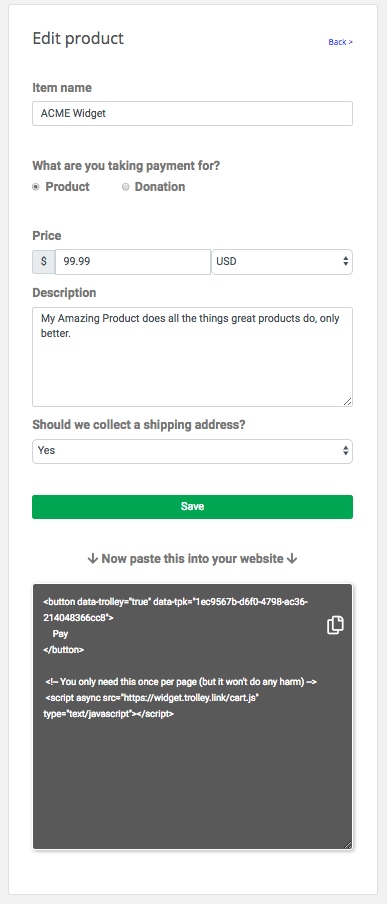
Fill in the basic product details - price, currency, description and so on - here we're selling an "ACME Widget" for only $99.99.
These details give your customers the information they need to make an informed choice about your product; it's worth spending some time to make the wording appealing.
Now that you've done that, scroll own a bit and click Save.
Now, in the Link Generator, you can select either the predefined "Pay Me" product, or the new one you've created.
When the customer receives your link and opens it, they're presented with Trolley's Hosted Payment Page for your product.